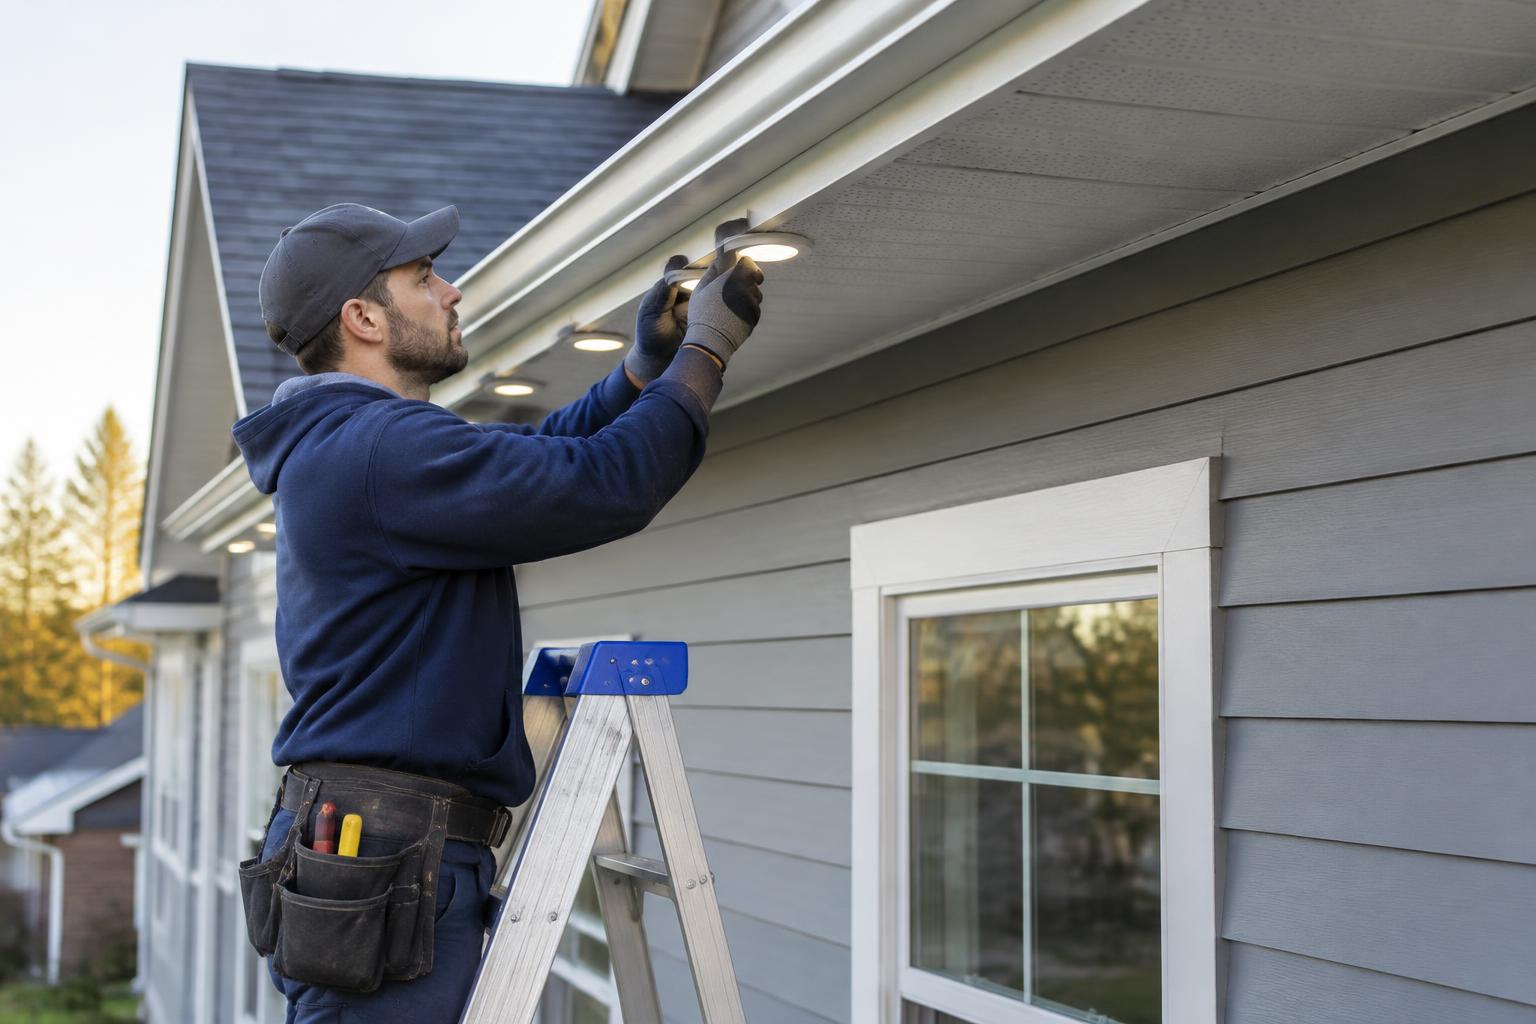
A lasting lighting installation starts with protecting the house. Learn how to assess mounting surfaces, preserve drainage and ventilation, route cables, and recognize when professional help is essential.
Planning permanent outdoor lights starts with protecting the house, not choosing colors. Every mounting point, cable route, and power connection should preserve the roofline’s ability to shed water, release moisture, and withstand weather.
These systems use tracks or mounts along soffits, fascia, and rooflines for year-round lighting with app-driven scenes. However, a tidy appearance does not prove that the attachment, wiring, or weather protection is sound.
Use this guide to review an installer’s plan and identify hazards from ground level. Elevated inspection and installation belong to trained workers using appropriate access equipment and fall protection.
Inspect the Building Before Planning Permanent Outdoor Lights
Start with photos taken from the ground, maintenance records, and any roof or siding warranty documents. Then have a qualified installer assess the actual mounting surfaces before ordering track lengths or marking holes.
Separate Decorative Trim From Structural Support
Soffit panels may be thin vinyl, aluminum, fiber cement, or wood. Fascia may be solid lumber, composite trim, or metal wrapping over a backing board; those layers do not have equal holding strength.
A fastener that catches only thin cladding may loosen under wind or seasonal movement. Therefore, the installer must identify suitable backing and confirm that the proposed attachment works with both the lighting hardware and the building material.
Repair Existing Defects First
- Moisture damage: Look for staining, peeling paint, swelling, soft wood, and corroded fasteners.
- Loose components: Check for sagging soffits, displaced trim, and separated fascia wraps.
- Drainage trouble: Note overflowing gutters, leaking joints, and water marks behind the gutter.
- Hidden hazards: Identify likely wiring routes, service-entry conductors, and concealed piping before drilling.
Do not cover rot or recurring leaks with a new channel. Instead, have the relevant trade repair the defect and confirm that the area is dry and ready for attachment.
Choose Mounting Zones That Preserve Drainage and Airflow
The preferred mounting zone for permanent outdoor lights is a sound, approved surface that supports the system without disturbing roofing or blocking ventilation. A roofline installation usually follows the architectural edge; it does not require fastening through shingles.
Soffit intake vents, fascia drainage details, flashing edges, and gutter access must remain functional. In addition, leave room for future cleaning, roof repairs, and removal of individual lighting sections.
Compare the Main Mounting Locations
- Solid soffit area: Often provides a sheltered, downward-facing location. However, confirm backing and keep channels clear of vent openings and removable panels.
- Fascia face: Can provide a continuous line when the substrate is sound. Check gutter brackets, metal-wrap movement, and whether holes could admit water behind the wrap.
- Roof-edge trim: May suit a manufacturer-approved bracket arrangement. A roofing professional should review any detail near flashing, drip edges, or the roof covering.
- Gutters or roofing: Do not assume either is an acceptable support. Use only explicitly approved attachment methods, with building-envelope review where necessary.
Preview spacing and wall-wash effects with the outdoor lighting visualizer before selecting the final location. Because offset affects how light falls on siding, the best-looking position still needs a separate technical check.
Match Tracks and Fasteners to the Substrate
Tracks for permanent outdoor lights should fit the light modules, retain cables without crushing them, and allow the required bend radius. Deliciosa Decor is LightPro Connect’s affiliated hardware partner for mounting tracks and channels; confirm compatibility with the exact lighting model before purchase.
Review mounting tracks and installer hardware with your installer. A channel that looks compatible may still conflict with connector size, module spacing, heat limits, or the lighting manufacturer’s approved attachment method.
Specify More Than Screw Length
Fastener selection should address substrate, thread type, diameter, head shape, embedment, and corrosion resistance. Stainless steel is not automatically the right answer for every metal assembly; dissimilar metals and coastal exposure may require compatible coatings or isolation.
Likewise, fasteners must be long enough for approved engagement without reaching hidden wiring or damaging layers behind the backing. Pilot holes, spacing, and tightening should follow the applicable hardware and substrate instructions, rather than a universal screw schedule.
Adhesive-only mounting needs explicit approval for the surface, temperature range, and sustained outdoor load. Meanwhile, long tracks need the specified allowances for thermal movement so they do not buckle or pull fasteners loose.
Keep the Weather Barrier Intact
Installing permanent outdoor lights should not create a shortcut for rain into the wall or roof assembly. Avoid unnecessary penetrations, particularly through roof coverings, flashing, and concealed water-control layers.
When a cable must enter the building, the installer should plan a suitable sleeve, gland, or entry fitting and a compatible weatherproofing detail. Depending on the assembly, proper flashing or integration with the weather barrier may be necessary; surface caulk alone is not a complete solution.
Sealants must suit the trim, cable jacket, and adjacent materials. However, never seal weep openings, channel drainage features, or ventilation slots simply to make the work look finished.
Route Cables and Drip Loops Deliberately
The cable plan for permanent outdoor lights should show every extension, connector, controller, and power supply. Use the manufacturer’s permitted cable types and length limits, because extra distance can cause voltage drop, signal problems, or overloaded sections.
- Choose a protected route: Keep cables away from sharp edges, hot equipment, gutter interiors, and roof drainage paths.
- Support without squeezing: Use approved clips or channel retainers that do not pierce or flatten the jacket.
- Protect transitions: Use suitable bushings or fittings where cables pass through metal or other abrasive surfaces.
- Manage water: Where required, form a drip loop below an entry so water falls from the low point instead of following the cable inward.
- Preserve service access: Leave manufacturer-permitted slack and keep connectors accessible without removing roofing or gutters.
A drip loop does not waterproof a connector or replace a rated entry fitting. In addition, avoid unsupported coils that collect debris or flap against the siding.
Check Power, Controllers, and IP Ratings Separately
With permanent outdoor lights, the light modules, connectors, controller, and power supply may have different environmental ratings. A weather-resistant light string does not make its adapter safe in standing water.
Read the Rating and Its Conditions
An IP65 rating indicates dust-tight construction and protection against specified water jets; it does not permit submersion. IP67 adds protection under specified temporary immersion test conditions, not unlimited underwater use.
These ratings apply to the tested enclosure under stated conditions, including correctly assembled seals and connectors. They do not establish electrical-code compliance, UV resistance, or permission to place a device anywhere outdoors.
Mount controllers and power supplies in their permitted orientation, within their temperature limits, and with required ventilation. Do not place a heat-producing adapter in a sealed box unless that arrangement is approved.
Have the Supply Arrangement Reviewed
Use manufacturer-specified power supplies and check applicable product listings or certifications for the intended use. Do not substitute unapproved adapters, splice proprietary cables without authorization, or treat low-voltage wiring as risk-free.
Outdoor receptacles generally require GFCI protection under applicable U.S. electrical codes, while weather-resistant devices and suitable covers may also be required. Local adoption, site conditions, and the work scope determine the exact rules; have a licensed electrician verify them.
New circuits, hardwired supplies, and receptacle changes may require permits and inspection. Review NFPA home electrical fire-safety guidance, and never use an extension cord as a substitute for permanent wiring.
Ask Warranty Questions Before Approving the Work
Before buying permanent outdoor lights, distinguish the product warranty from coverage for labor and damage to the house. Modified cables, incompatible mounts, or unapproved penetrations may affect coverage, but the actual warranty terms control.
- Does the lighting manufacturer approve the proposed track and cable arrangement?
- Could attachment affect roofing, siding, gutter, or trim warranties?
- Who repairs leaks, loose mounts, or damaged finishes linked to installation?
- Are labor, access equipment, and replacement visits covered?
- Will you receive model numbers, installation photos, and warranty documents?
Compare supported systems through the lighting brand directory, then check the current instructions for the exact model. App features and mounting requirements can differ even within one brand.
Know When to Stop and Call a Professional
Stop planning permanent outdoor lights as a DIY task when access requires roof walking, leaning beyond a ladder, or reaching near overhead conductors. Rot, uncertain backing, concealed wiring, and unexplained water stains also require professional assessment.
Consult CPSC safety education resources and its ladder-safety guidance before any ladder use. Those precautions do not replace training, suitable access equipment, or fall protection for elevated work.
Before accepting the job, request a ground-level demonstration of scenes, controls, and shutoff procedures. Also obtain installation photos showing attachments, cable supports, weatherproofing, and accessible service points.
Request Quotes With a Clear Installation Scope
LightPro Connect is a nationwide, manufacturer-neutral marketplace connecting homeowners and businesses with professional installers. Share your photos, surface concerns, and warranty questions when you request quotes for permanent outdoor lights, and ask each installer to explain how the plan protects your home.