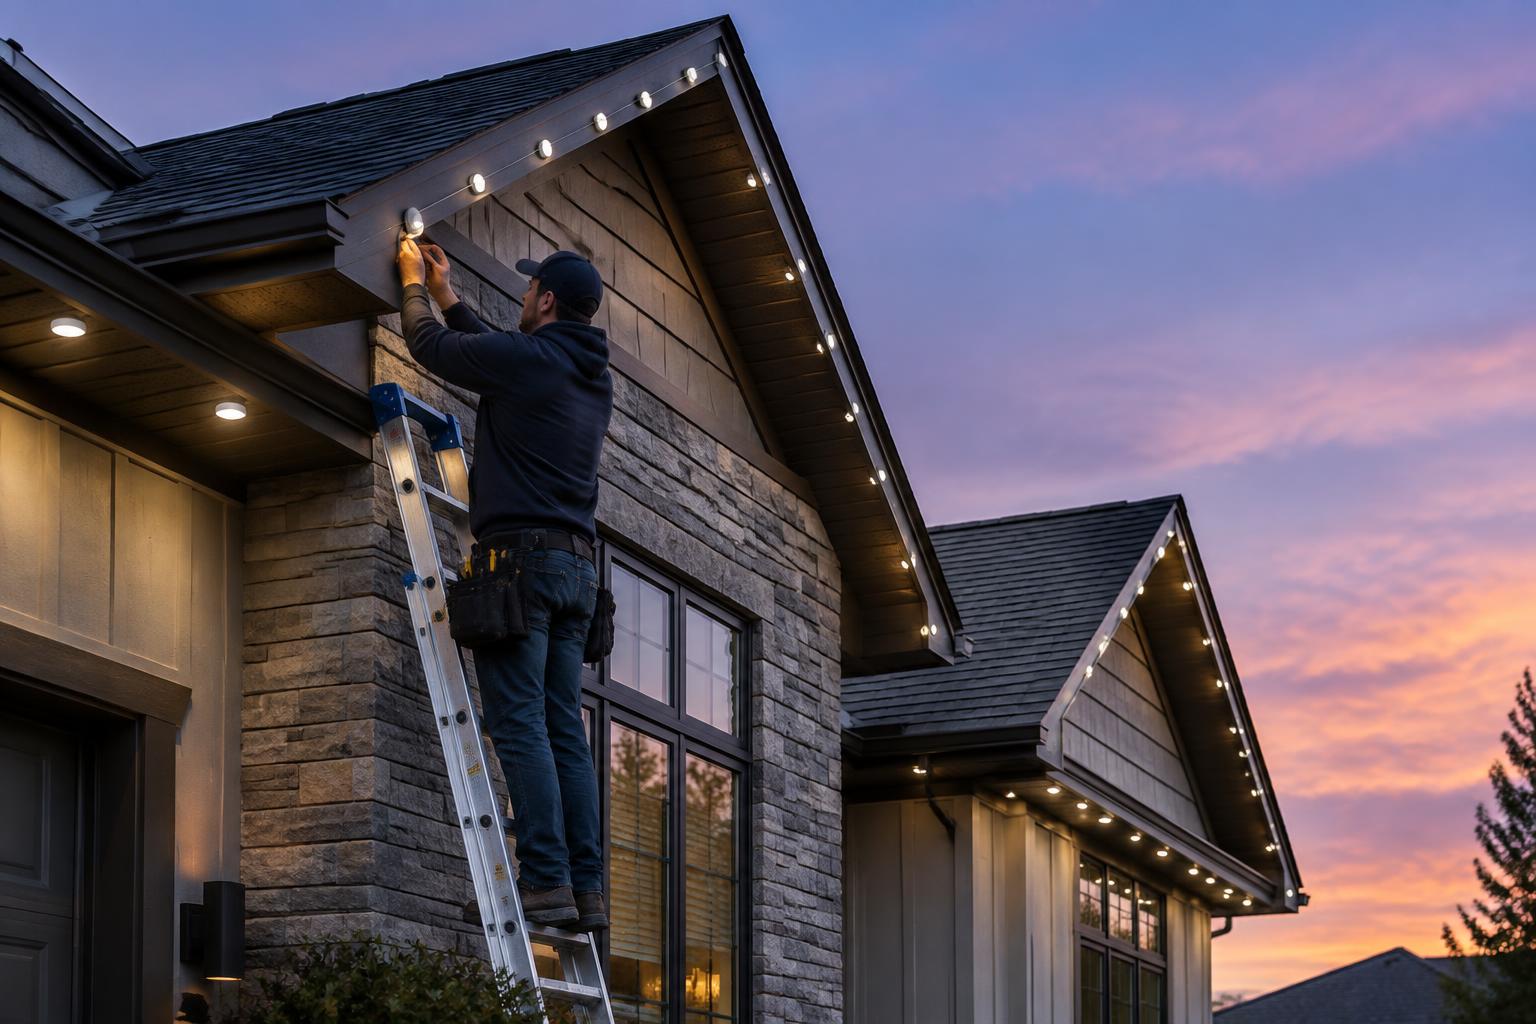
Plan Govee permanent outdoor lighting for uneven soffits and multi-gable rooflines, from model selection and power routing to secure mounts, section testing, and final inspection.
Learning how to install Govee permanent outdoor lights on an uneven, multi-gable roofline starts with planning the mounting route, not sticking up the first light. Each change in soffit depth, pitch, or wall position affects the pattern below. This field guide explains how to turn those changes into a secure, serviceable installation.
Permanent lighting belongs on suitable soffit, fascia, and roofline mounting surfaces, using compatible mounts or tracks for year-round use and app-driven scenes. However, roofline access and outdoor electrical work need separate safety checks before any installation begins.
1. Start With Access and Electrical Safety
The first decision in how to install Govee permanent outdoor lights is whether the work is safely accessible. Use a professional for high, steep, inaccessible, or electrically unsuitable areas. Never reach sideways from a ladder to finish a corner or work near overhead service conductors.
Review CPSC ladder safety guidance before setting up access equipment. Firm footing, correct ladder placement, and clear work zones matter more than installation speed. Complex gables may need scaffolding or a lift operated by trained workers.
Have an electrician assess an absent, damaged, or poorly located outdoor receptacle. Outdoor outlets generally require GFCI protection and weather protection appropriate to their location under the locally adopted electrical code. Consult the NFPA 70 National Electrical Code resource, but let the local authority and electrician determine applicable requirements.
2. Choose the Exact Model Before Measuring the Order
A reliable plan for how to install Govee permanent outdoor lights depends on the exact model number and regional version. Govee product families can differ in node spacing, connectors, extension rules, maximum system length, controller capacity, and installation details. Do not buy by total advertised footage alone.
Build a Model-Specific Limits Sheet
Download the installation manual for the actual kit, including any approved accessories. If a detail is unclear, ask official Govee support before modifying anything. Keep the answer with your project records.
- System limits: Record supported light count, total length, extension allowances, and power-supply requirements.
- Modification rules: Confirm whether cutting or splicing is allowed, exactly where, and with which components.
- Environmental limits: Record each component’s IP rating, operating temperature, and placement instructions.
- Mounting details: Note approved orientation, surface preparation, wall setback, and fastener requirements.
- Warranty terms: Check regional coverage and restrictions involving alterations, accessories, and installation damage.
Never assume every model can be cut, extended, or branched. In addition, an accessory that physically fits may not be electrically or digitally compatible. For manufacturer-neutral research, browse permanent lighting brands available through LightPro Connect before committing to a system.
3. Measure Mountable Runs, Not Just Roof Edges
Accurate measuring is central to how to install Govee permanent outdoor lights across several gables. Measure the actual mounting path along each slope and return, rather than its horizontal projection from the ground. Label each straight run on a sketch.
Record soffit width, wall setback, fascia construction, and changes in mounting height. Mark vents, downspouts, trim blocks, utility cables, and gaps between separate roof sections. Meanwhile, identify solid backing rather than assuming thin soffit panels can hold screws.
Separate Lighted Runs From Transfer Runs
A lighted run carries visible nodes; a transfer run carries cable between lighting areas. Measure both, because approved extensions and unlit jumps can affect system limits. Allow the specified bend radius and modest service slack without leaving hanging loops.
- Give every eave, rake, and return a route label.
- Measure its usable mounting length and note obstructions.
- Draw corners and transitions at a larger scale.
- Mark proposed first and last node positions.
- Check the entire route against the exact kit’s limits.
Do not assume a multi-gable layout permits a T-shaped electrical branch. Many systems follow a defined sequence from one controller output. Therefore, draw the cable path as well as the architectural outline.
4. Map Power, Controller, and Service Access
Before deciding how to install Govee permanent outdoor lights permanently, identify the power source and controller position. Keep both reachable for inspection, pairing, and replacement. A controller buried above closed soffit panels creates needless service work.
Check IP ratings separately for lights, connectors, controller, and power supply. For example, IP65 addresses dust and water jets under defined test conditions; IP67 adds protection against temporary immersion under specified conditions. Neither rating overrides installation instructions or makes an indoor-rated supply suitable outdoors.
Route cables away from sharp flashing, hot surfaces, moving doors, and drainage paths. Where appropriate, arrange drip loops so water sheds before reaching a connection. Do not use an extension cord as a substitute for required permanent wiring or improvise a sealed box that traps power-supply heat.
5. Plan How to Install Govee Permanent Outdoor Lights at Corners
The visual challenge in how to install Govee permanent outdoor lights is maintaining a steady pattern when the building changes shape. Node spacing and distance from the wall work together. A consistent cable interval can still create uneven scallops when soffit depth varies.
Compare the Main Transition Types
- Outside corner: Keep the intended wall setback on both faces and evaluate how the two end patterns meet. Do not pull cable tight around the edge.
- Inside corner: Check for overlapping bright spots on both walls. Adjust the approved mounting layout after a nighttime trial.
- Gable peak: Compare a centered node with nodes balanced on either side, where fixed spacing permits. Preserve safe cable bends.
- Height change: Plan an approved transfer between levels instead of stretching a lighted segment across open space.
- Deep-to-shallow soffit: Prioritize a repeatable wall setback where feasible, then judge the pattern on both surfaces.
Factory node spacing usually limits your choices; never stretch conductors to force symmetry. Where the manual permits adjustment, distribute small changes across a section rather than creating one obvious gap. Otherwise, accept a deliberate break or revise the route.
6. Mock Up the Hardest Section First
A nighttime mockup is the quickest way to validate how to install Govee permanent outdoor lights before drilling. Temporarily support a representative section using a safe method that does not damage its housing or cable. Include a corner, a slope, and a soffit-depth change if possible.
View the lights from the street and from normal entry points, using both white and a moving scene. Compare wall wash, glare, shadowing, and peak balance. In addition, test the intended controller location for reliable app communication.
Use the LightPro Connect lighting visualizer to explore the overall look, but rely on the physical mockup for exact placement. Record the chosen setback and use a simple gauge block during mounting. Photographs help the installer repeat the approved result.
7. Install Mechanical Mounts on Suitable Backing
Durable hardware is a key part of how to install Govee permanent outdoor lights for year-round exposure. Follow the kit’s surface-preparation instructions for adhesive, including cleaning, drying, and temperature limits. Where specified, install the supplied screw-retained clips or an approved mechanical mounting system.
Do not rely on adhesive to correct rough masonry, peeling paint, or weak panel surfaces. Use exterior-rated fasteners compatible with the substrate and mounting material, with backing and embedment appropriate to the assembly. Avoid crushing vinyl, distorting metal, or blocking soffit ventilation.
Deliciosa Decor is LightPro Connect’s affiliated hardware partner for mounting tracks and channels. Review installer mounting tracks and hardware, then verify compatibility with the exact Govee model, housing dimensions, cable routing, drainage needs, and warranty terms. Third-party fit does not automatically mean manufacturer approval.
Dry-fit tracks before fastening and follow their instructions for joints and thermal movement. Keep mounting lines straight through each run, while allowing the planned transitions. Never drive a fastener through a cable or pinch insulation beneath a track edge.
8. Test Each Section and Protect Every Connection
A staged workflow reduces rework when learning how to install Govee permanent outdoor lights on a complex house. Bench-test the approved system arrangement before mounting, following the manual’s setup instructions. Then isolate power before adding or changing connections.
After mounting each section, restore power and check every node, color channel, and sequence position. If something fails, power down and inspect the last change first. Never probe or modify energized connectors.
- Align keyed connectors without forcing them.
- Check seals for dirt, damage, or displacement.
- Fully engage locking parts as instructed.
- Support cable so connector bodies carry no tension.
- Fit specified end caps to unused ends.
- Use only approved splice and sealing methods where modifications are permitted.
Electrical tape alone is not a weatherproof connector system. Likewise, adding sealant indiscriminately can interfere with seals or future servicing. Keep connections out of standing water and away from roof runoff wherever the approved layout allows.
The control step in how to install Govee permanent outdoor lights should follow a successful hardware test. Pair the controller in the Govee app using the model’s stated wireless requirements. Update firmware when prompted and allow the process to finish before interrupting power.
Confirm segment count, direction, and any available mapping settings. Then save a practical everyday scene, a low-brightness late-evening scene, and seasonal options. Check timers, time zone, and power-restoration behavior rather than assuming settings survive every outage.
Run a moving scene across all gables to expose reversed expectations or missing sections. Meanwhile, check light spill at neighboring windows. Year-round scenes should suit the property without producing unnecessary glare.
10. Inspect, Document, and Request Quotes
The final step in how to install Govee permanent outdoor lights is a daylight and nighttime inspection. Check fasteners, cable support, vent clearance, connector engagement, and access to power components. Confirm that no wires rub against sharp edges or interfere with gutters.
Save the route drawing, model numbers, receipts, manual, warranty details, and installation photographs. Inspect the system after severe weather and at intervals recommended by the manufacturer. Stop using it if you find damaged insulation, loose mounts, or water intrusion.
Need help with access, hardware, or electrical planning? LightPro Connect is a nationwide, manufacturer-neutral marketplace connecting homeowners and businesses with professional permanent outdoor lighting installers. Request installation quotes and share your roofline sketch, photos, and preferred Govee model.